Shooting small object for isolation on white is best done in a lightcube + light, however, for this and that reason I've choosen not to purchase one. Instead, I have a setup that is assembled within one minute, is stored btween my computer table and the wall, and costed me nothing (had everything in place).
You will need a few big sheets of white paper, a pig piece of glass (mine came out of a broken picture frame) + chairs, footrests, piles of books or whatever to support the pieces. For light I use sunlight from the balcony door.
Apart from being cheap, light, and compact, the setup gives my pics a sunny appearance, that most people find pleasing to the eye.
on the minus side, the shooting sessions can only be done in good weather and in the right time of the day. which in fact is a kinda plus - it energize you no end when the conditions are right
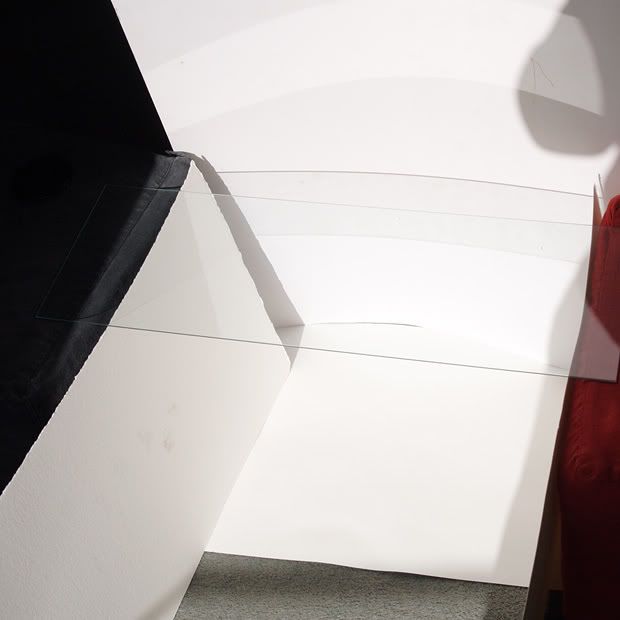
ok, so there is the setup. the cleanest, whitest bit of paper is laying flat on the floor. on the sides are two stools, and leaning on them vertically - two more pieces of paper (they reflect the light back into the working area and screen possible "color contamination" from the sides). On the top of the stools the piece of glass is resting. Behind the whole thing is a big piece of paper/cardmoard, standing vertically - another screen/reflector.
That's it.
You can photograph stuff, laying objects on the glass - easiest possible situation for isolation. If that's impossible, take off the glass, put the object on the paper on the floor and make sure there is absolute minimum of shadows in the frame. It will be slightly more fiddly, coz you'll need to get rid of the shadows in photoshop, or similar software, but it will still be relatively easy.
When I shoot in this setup, I put exposure on up to +2 - the idea being that I can "burn" the background anyway. The main thing to watch out for is that the object itself retains enough details.
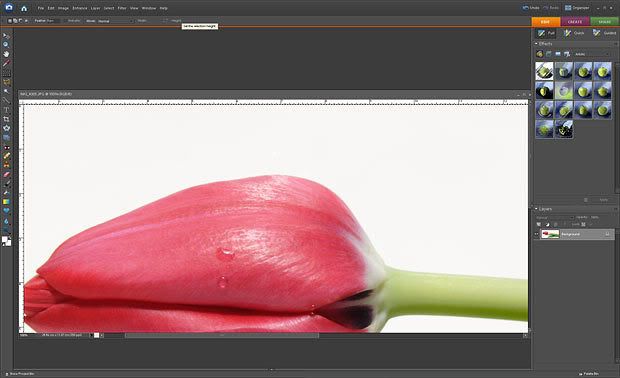
Ok, let's say I shoot a tulip (laying flat on the glass). The following processing is done using photoshop elements
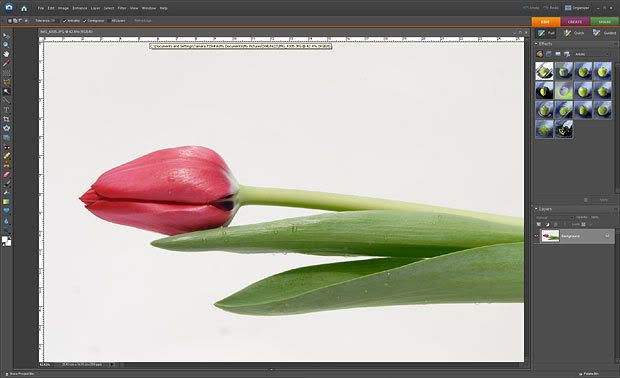
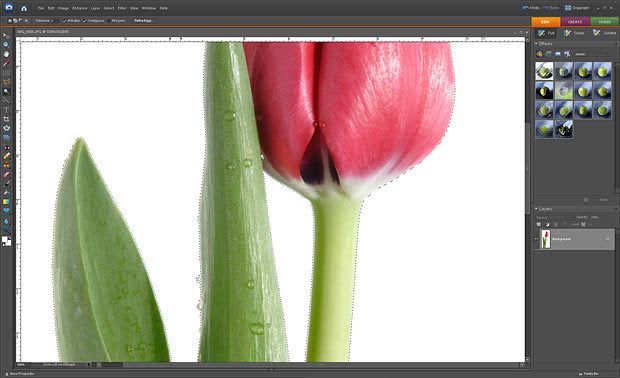
first, crop close to the object, we don't need to think about the rest of the background
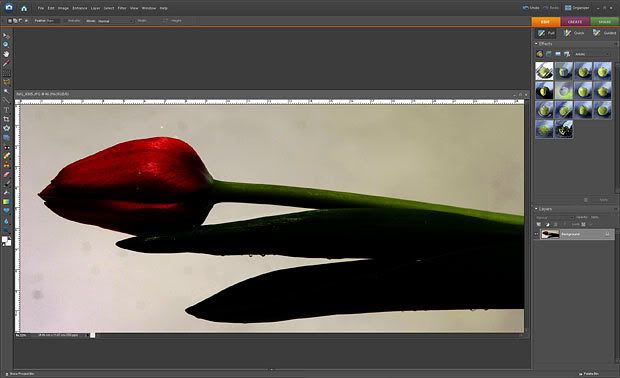
Fist, light up the pic - call levels (ctrl-L), and, looking at the highlight in the tulip and making sure it is not burning, bring the right arrow into the histogram, till satisfied with the results.
Now. Looks like it worked ok. So, bring the middle arrow (midtones) to the maximum right. your pic becomes horribly dark (and yes, I know, I had a very dirty sensor at that point)
Now, WITHOUT CLOSING THE LEVELS DIALOG WINDOW, take the white eyedropper from it, and click on the area of the background that appears the darkest. It will bring this area to pure white, taking the whole picture with it
ta-da! looking good. to check, you can, for example, "ok" this levels dialog, and call another one - bring the middle arrow to the right again, you should still have white background and very dark object. cancel this dialog. If there are still some big area of background that is not white, repeat the step with eyedropper.
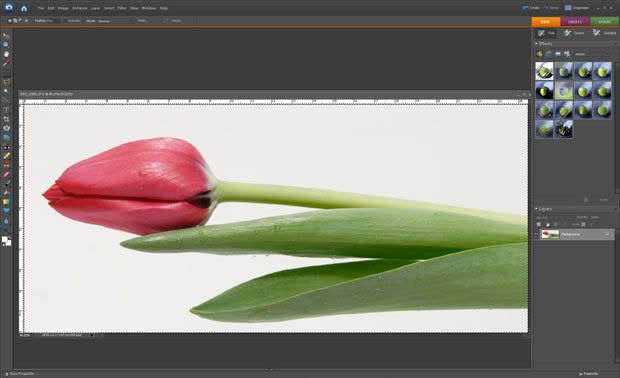
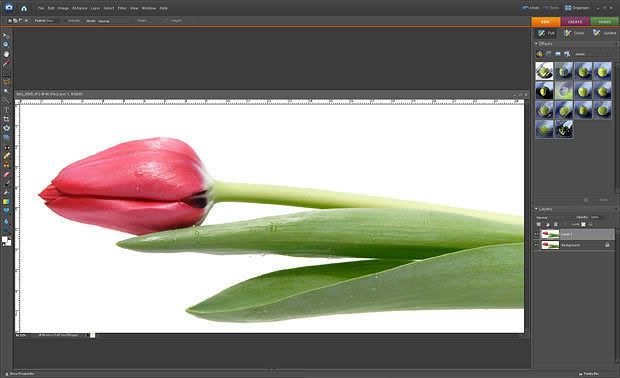
ok - looks fine in this case, and the flower doesn't burn at all. To re-check, use the magic wand with "0" tolerance, you should be able to select the whole background area in one swoop.
in my case there are no problems, but if you have some dirt left somewhere - take the erazer and get rid of it.
tulip is a simple shape, you can theoretically do the isolation even by hand - with lasso and all. The beauty of the method described is that you can isolate more complicated shapes just as easily

I have some tutorials on more complicated cases, which I might eventually translate, originals are in russian
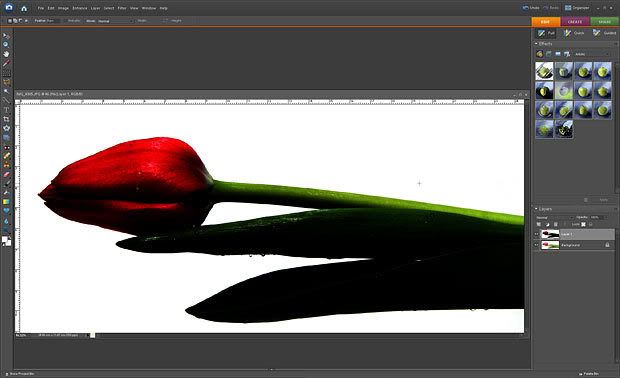
final pic in a Russian photobank "Lori"
original of this tutorial in Russian


No comments:
Post a Comment