Wednesday, December 22, 2010
on snow, disrupted travel and isolation on white
along with thousands of other travelers in Europe we didn't travel anywhere. So we are probably not really qualify to be called travelers at all.
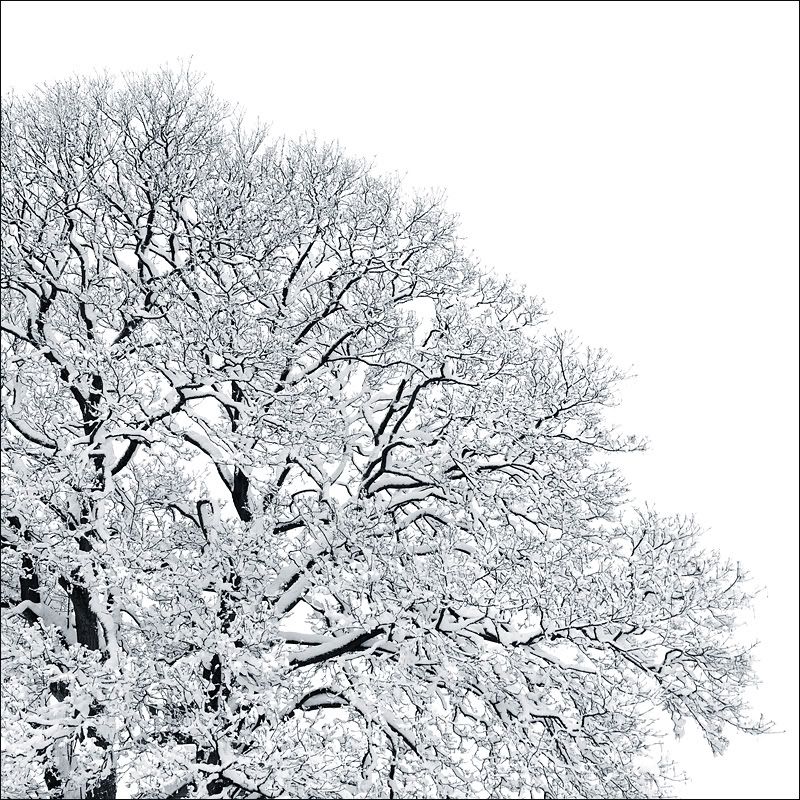
We were supposed to fly to Fuerteventura on Sunday morning (very early morning, so favoured by cheap airlines). We didn't, because the evening before a lot (I mean A LOT) or snow fallen and settled on the ground. It was very respectable amount of snow for single snowfall, even if I apply russian standard to it.
Anyways. On Sunday, while the snow was still fresh, I went out with my camera, and got pictures of a few trees, isolated on white background, small twigs and all. And just wanted to stress again how easy it is if the original lighting is right - be it natural milky-white sky or studio setup.
I am pretty sure I first saw a variant of this technique described by Laurin Rinder on shutterstock forum. He wrote something like "just call up Levels dialogue in photoshop, take a white pipette and click on background". And it works perfectly well if background was white and uniformly lit.
A goodish while ago wrote up a slight variation on this here - that works nicely even is there are dirty patches on the background.
I continue to use more or less the same technique now when conditions are right. I call up Levels dialogue, and start dragging the white point (upwards arrow on the right of the diagram), while holding Alt key (for PC) visually controlling the results. Sometimes it works just like that, sometimes I need to play with a few layers, but it works very nicely. Hope it helps if someone is still struggling with isolation.
Monday, December 06, 2010
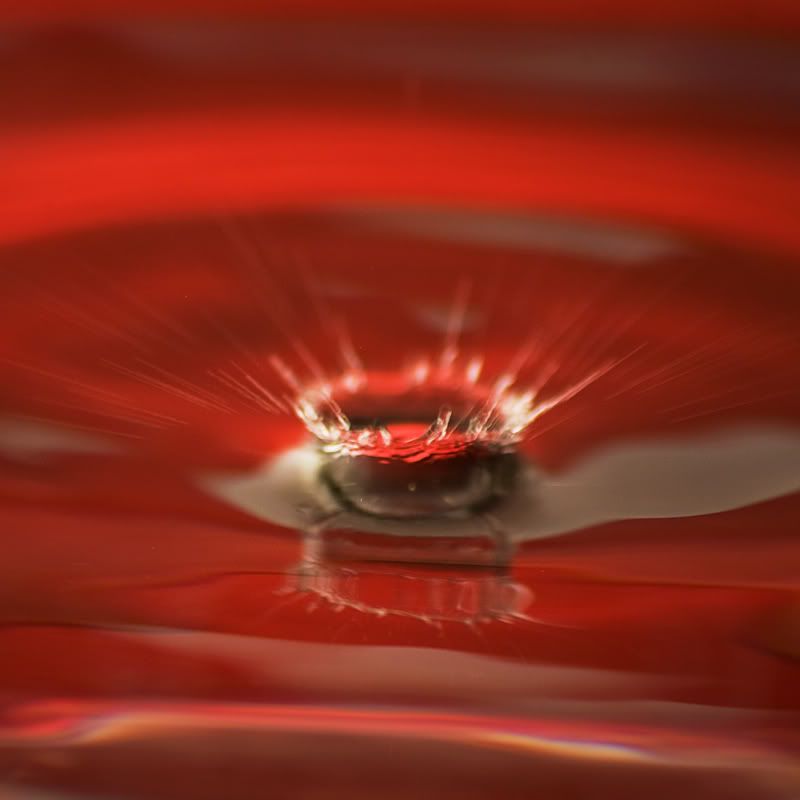
drip drop splash
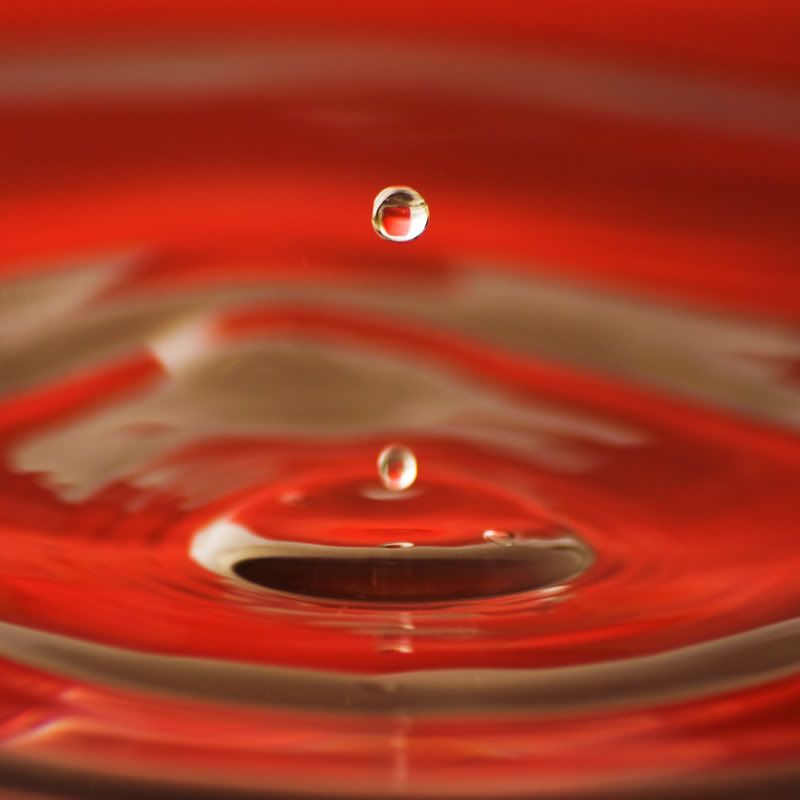
spent some happy time photographing water drops today. while stock photographer in me keeps saying "you never get those past inspectors", art photographer in me says - "but how beautiful".
I followed the tutorial from here (first video), with some differences. First one - I used a studio flash to light (doesn't really matter though). Second - couldn't find a suitable frame to hold bag of water in the air, so used upright floor lamp that has a squiggly flexible bit.
The resulting pics don't really stand scrutiny at 100%. Don't know it that's because it's a first try or what. One theory I have is that the lamp I used to hold the water bag is too tall, and drops were hitting the water at too high speed as a result, making 1/200 exposure (flash duration) too slow. Lens could be better too, but I am pretty sure it's capable of better performance if I can get the physical setup right. I'll have another go for sure. Watch this space
Friday, December 03, 2010
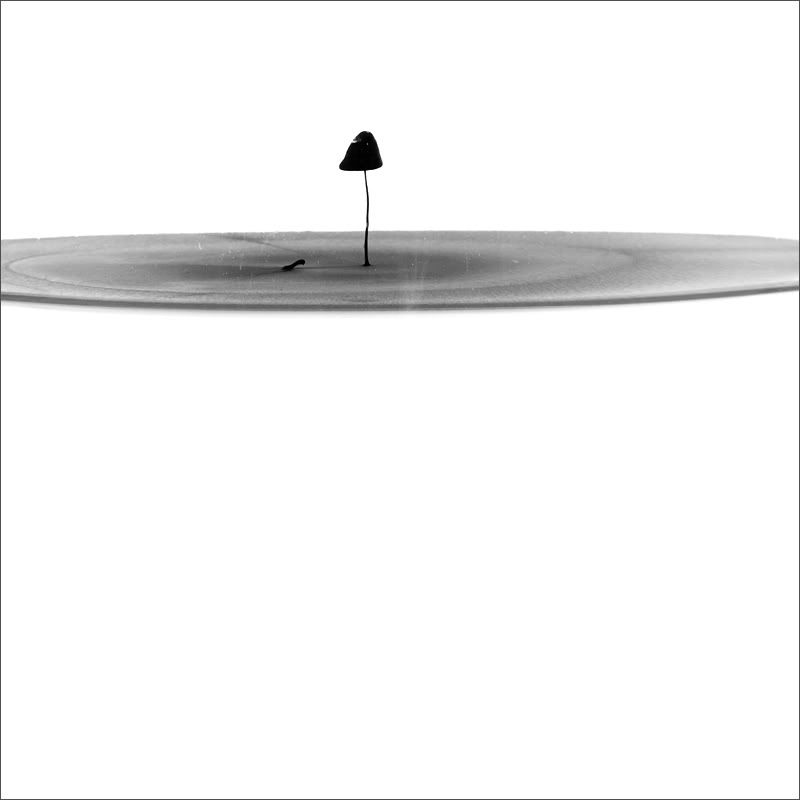
lonely
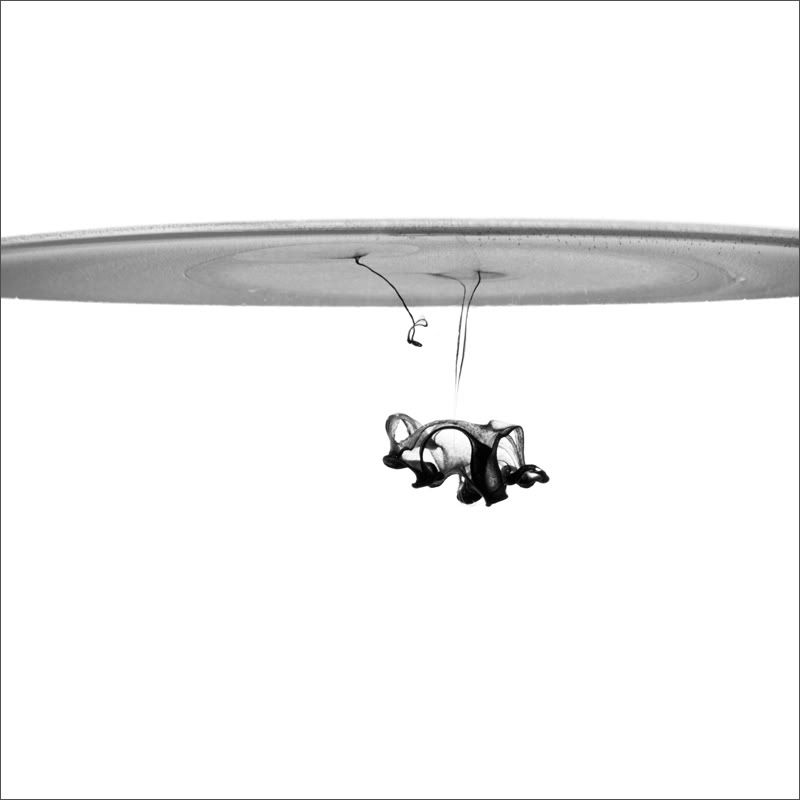
this time paint-through-water session produced not many useful images, but some that look sort of interesting. very organic.
ink and water images at shutterstock
Wednesday, December 01, 2010
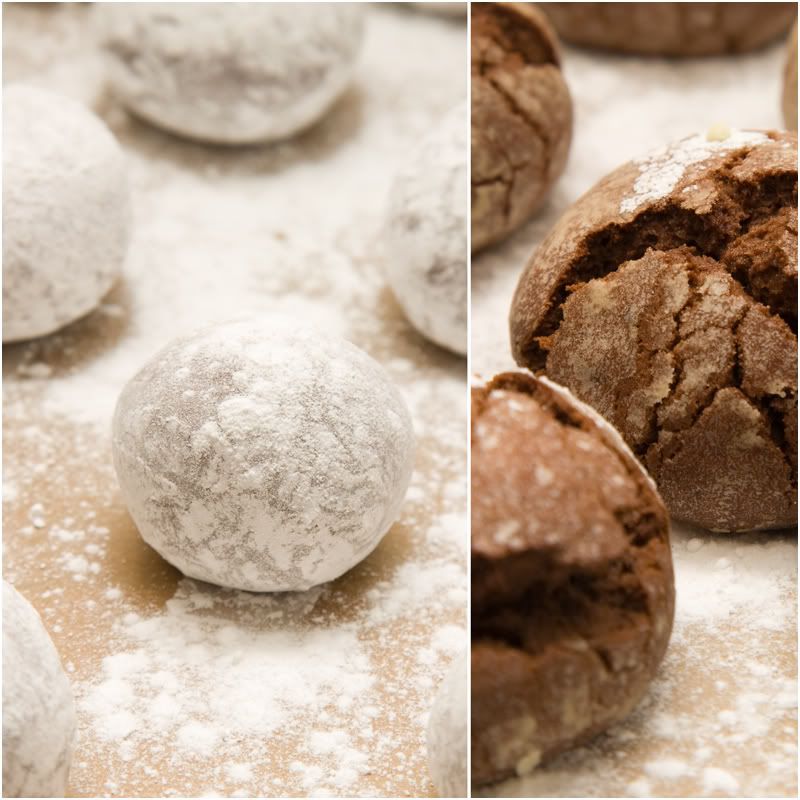
cookies
I love making those cookies. They turn out slightly differently depending on type of chocolate and probably a few other less obvious factors, but they always taste nice.
I got the recipe (in Russian) from here, and that blogger took it from Anita Chu’s Field Guide to Cookies. I haven't made any other things from that book, but if this one is something to go by, it must be a great book. Won't mind getting one for Christmas.
Update: and here is the recipe I use in English, since I was asked for it. Mind you, it's a product of two translations by now (English>Russian>English) and I am not sure about my source, but I definitely omitted couple of small things, so it's best to get hold of the original book. But still
170 g chocolate, broken - any kind, depending on your preferences. I use dark chocolate.
60 g softened butter
95 g sugar (I use vanilla-flavoured sugar and omit vanilla essence from my source)
2 eggs
195 g plain flour
3/4 teaspoons baking powder
pinch salt
icing sugar (generous small plate) for dusting.
Melt chocolate and butter together, mix well. Beat eggs and sugar together, join with choc-butter and mix well . Sift flour, baking powder and salt, add to the mixture, mix well. Put the dough into a fridge for couple of hours to make forming of cookies easier.
Heat the oven to 170 (160 for fan-assisted in the original recipe, but mine is temperamental). Line a baking tray with baking paper. Roll dough into large walnut-sized balls and roll in icing sugar, covering the surface. Don't flatten the balls - they will spread a bit as they bake. Bake for 12 mins or so. Leave to coll on a rack
baking-related images at shutterstock